Congratulations on Taking Control Back!
THE DUMPSTER GUARD® is carefully packed, tightly sealed, shrink wrapped and shipped on a pallet by common carrier to all states in the Continental United States. The average installation time for THE DUMPSTER GUARD® – Standard is under one hour. An Installation Guide is included for the installer’s reference.
When installing THE DUMPSTER GUARD® in concrete, it is necessary to use 3/4″ x 4 1/4″ steel sleeve anchors.
“No claims, representations or warranties, whether expressed or implied, are made by both our companies as to the safety, reliability, durability and performance of any of our companies’ products. Furthermore, our company accepts no liability whatsoever for the safety, reliability, durability and performance of any of our companies’ products.”

Installation Instructions
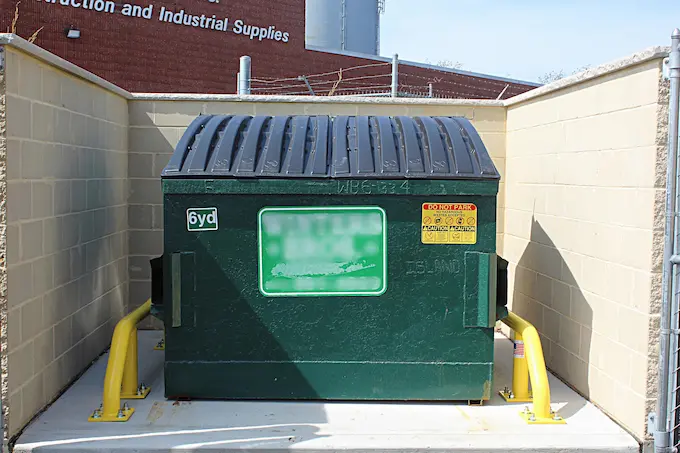
THE DUMPSTER GUARD® was designed to fit a typical 10′ x 10′ enclosure. If your enclosure is smaller, you can still install THE DUMPSTER GUARD®.
We recommend maintaining 12″ clearance.
Step
Using a tape measure and pencil, measure the width of the enclosure. Divide measurement in half. Be sure to make marks at the front and the rear of the enclosure.
Snap a line between these two marks. This is your “centerline” of the enclosure.

Step
Using the “centerline,” measure from theback wall forward 10″ and make a mark.

Step
Starting at the 10″ mark, use the 3′ – 4′ – 5′ method for finding a 90* angle. Snap through the two points creating a line parallel to the back wall.

Step
Using the back of the base plates, install the rear frame of THE DUMPSTER GUARD® on the line parallel to the back wall and center on perpendicular line (“centerline”). Ensure label is facing forward.
Step
Drill (1) 3/4″ masonry hole in each base plate. Install sleeve anchors using the 10 lb. hammer. Snug using adjustable wrench. (See pictures above.)
Step
Install left and right side of the THE DUMPSTER GUARD® by attaching to the rear frame previously installed, using the (2) 5/8″ hardened carriage bolts provided.

Step
Using the “centerline,” maintain equal measurements to the base plates.
Step
Starting with the front most base plates, drill (1) 3/4” masonry hole in each and install sleeve anchors using 10 lb. hammer.
Snug using adjustable wrench.
Step
Proceed to drill and install (1) sleeve anchor in each base plate. Ensure to maintain equal measurements off of “centerline.”
Step
Once each base plate of THE DUMPSTER GUARD® has been located and secured, continue installing the balance of the 3/4″ sleeve anchors and tighten. At this time, securely tighten all previously installed anchors and hardened 5/8″ carriage bolts.


That’s it!
THE DUMPSTER GUARD® is now installed and “Taking Control Back”.
Note: Plow markers (purchased separetly) are strongly recommended for guards installed in open areas! Install plow markers on left and right side front locations. Secure with 3/8″ hex bolts included.
Click here to view the diagram for the expandable layout installation.
For any questions or concerns, don’t hesitate to contact us for full support.